


Featured Collection list
Our newly released Whimsy Woods DIY kits make building your own dollhouse furniture fun and easy!
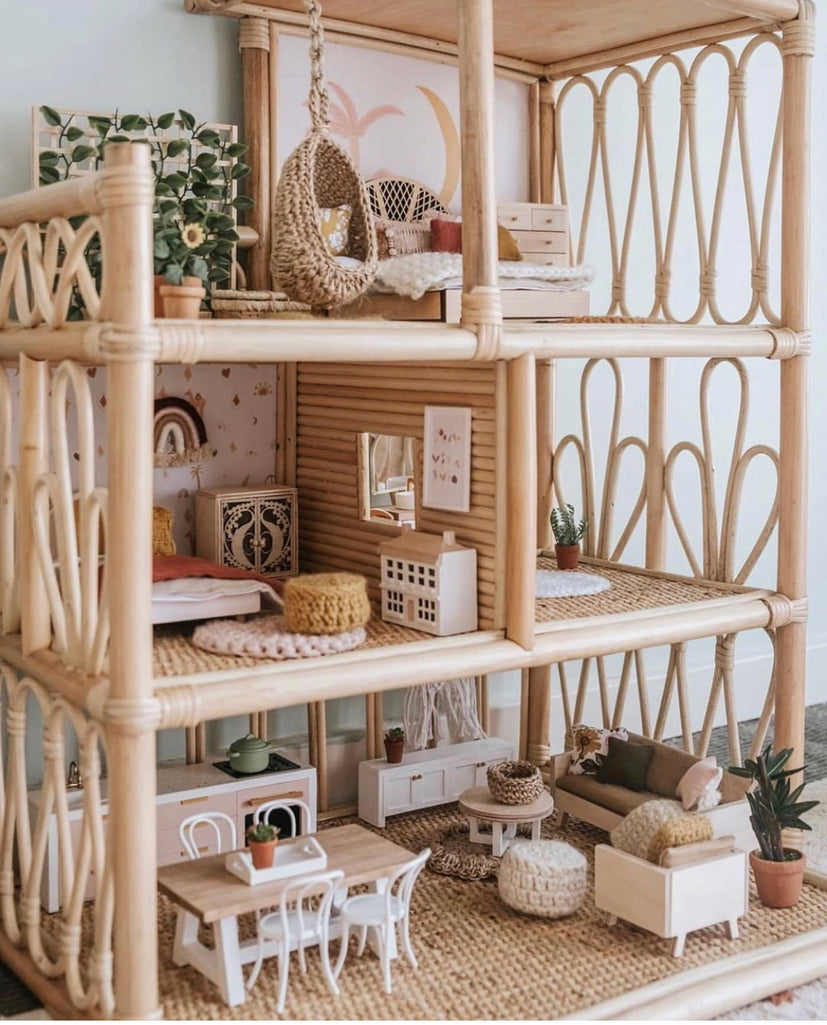
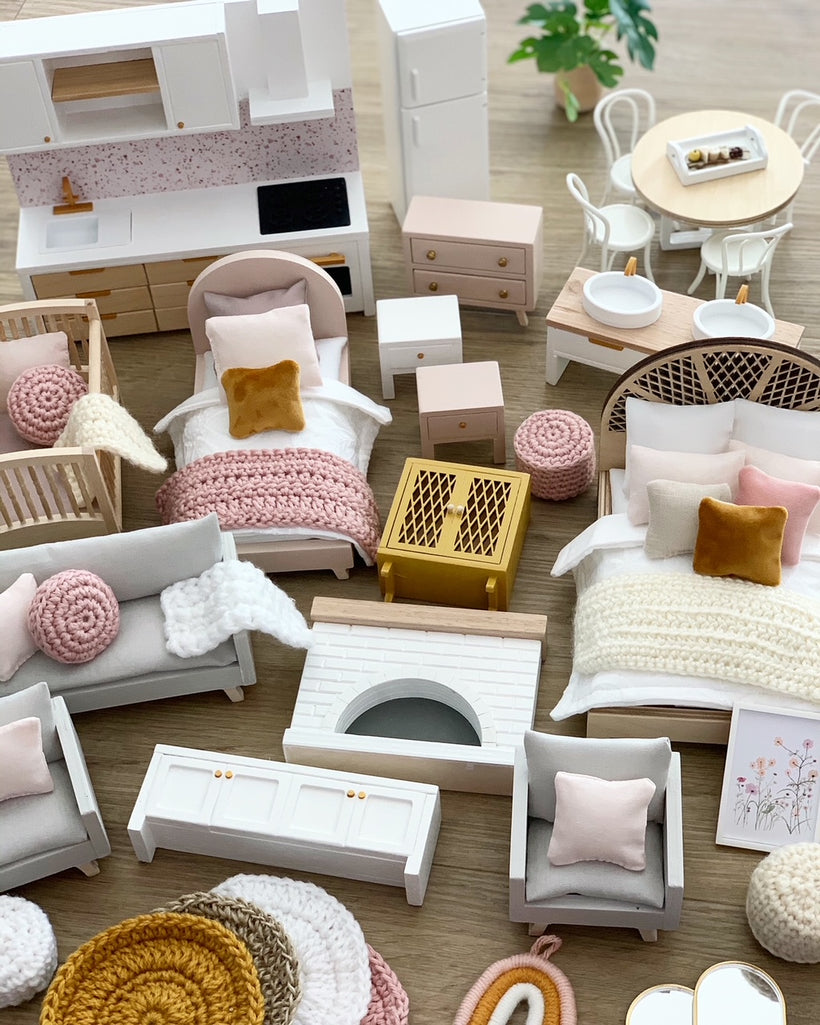
We have a wide range of modern dollhouse furniture and decor items that make building your dream dollhouse a breeze.

Come and see what's new! We are always busy dreaming up new designs and introducing new pieces to our range.
Blog posts
DIY Kit- Deluxe Whimsy Kitchen
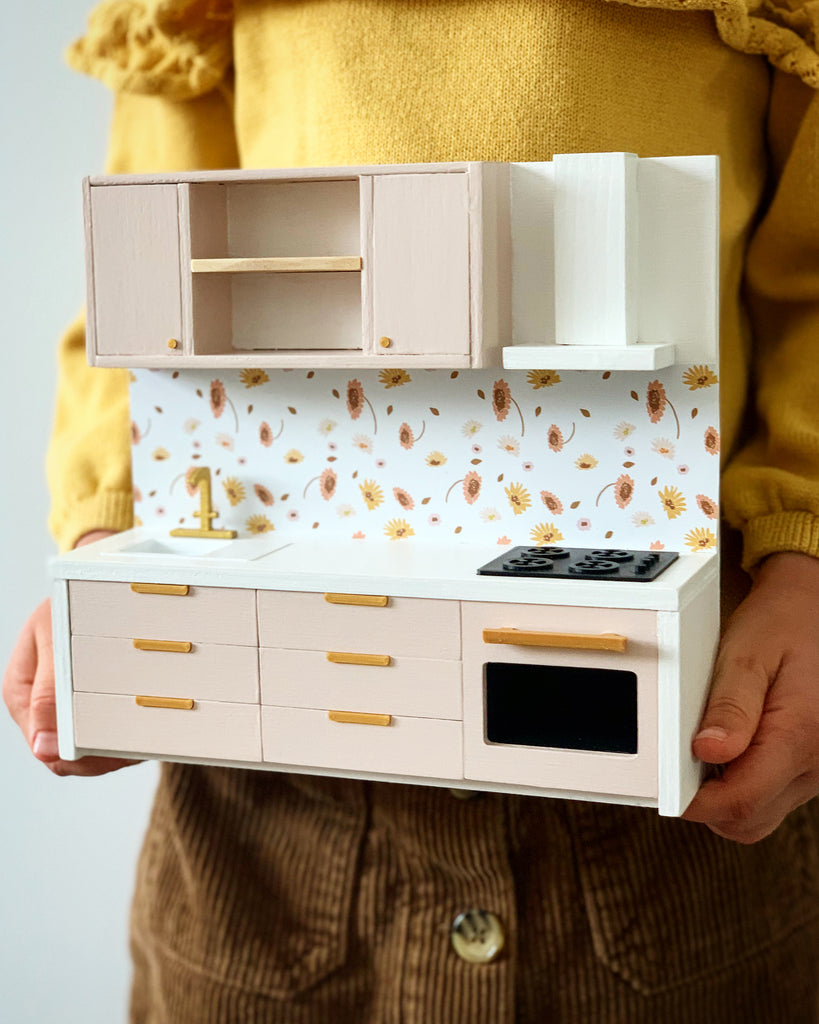
This is the assembly instructions for the Deluxe Whimsy Kitchen as found in the DIY Kit. For this particular kit I would suggest you assemble first without glue to make sure you understand how it all goes together. Read through the instructions before assembly. Once you have assembled without glue, I would also take some time to think about the way you would like to...
DIY Kit- Gaia and Arches Cabinet
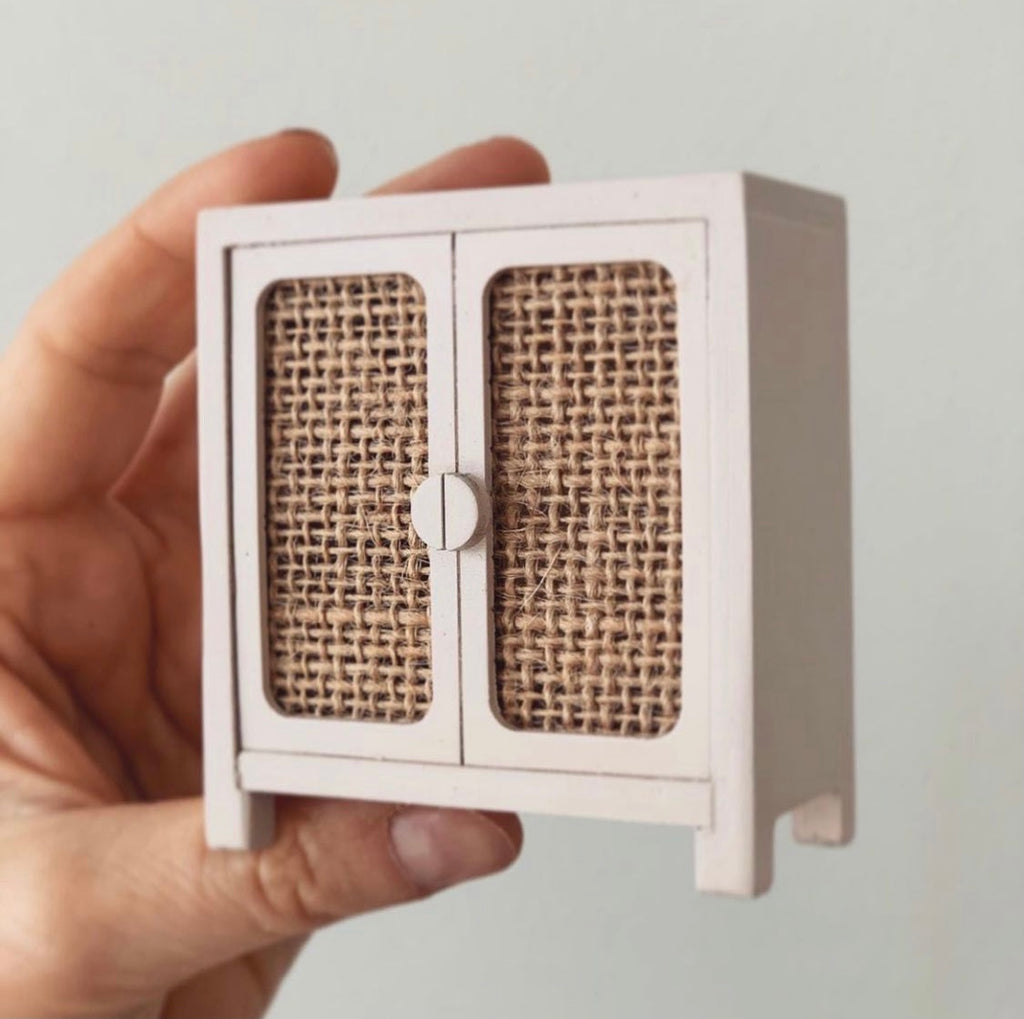
This is the assembly instructions for the Gaia and Arches Cabinet as found in the DIY kit. The cabinet itself will be assembled for you but I have left the other pieces off for ease of painting. In the kit you will have: Assembled cabinet, backing plate for faux rattan, faux rattan, door front and handles. 1) If painting, I would apply the handles to...
DIY Kit- Whimsy Basic Kitchen
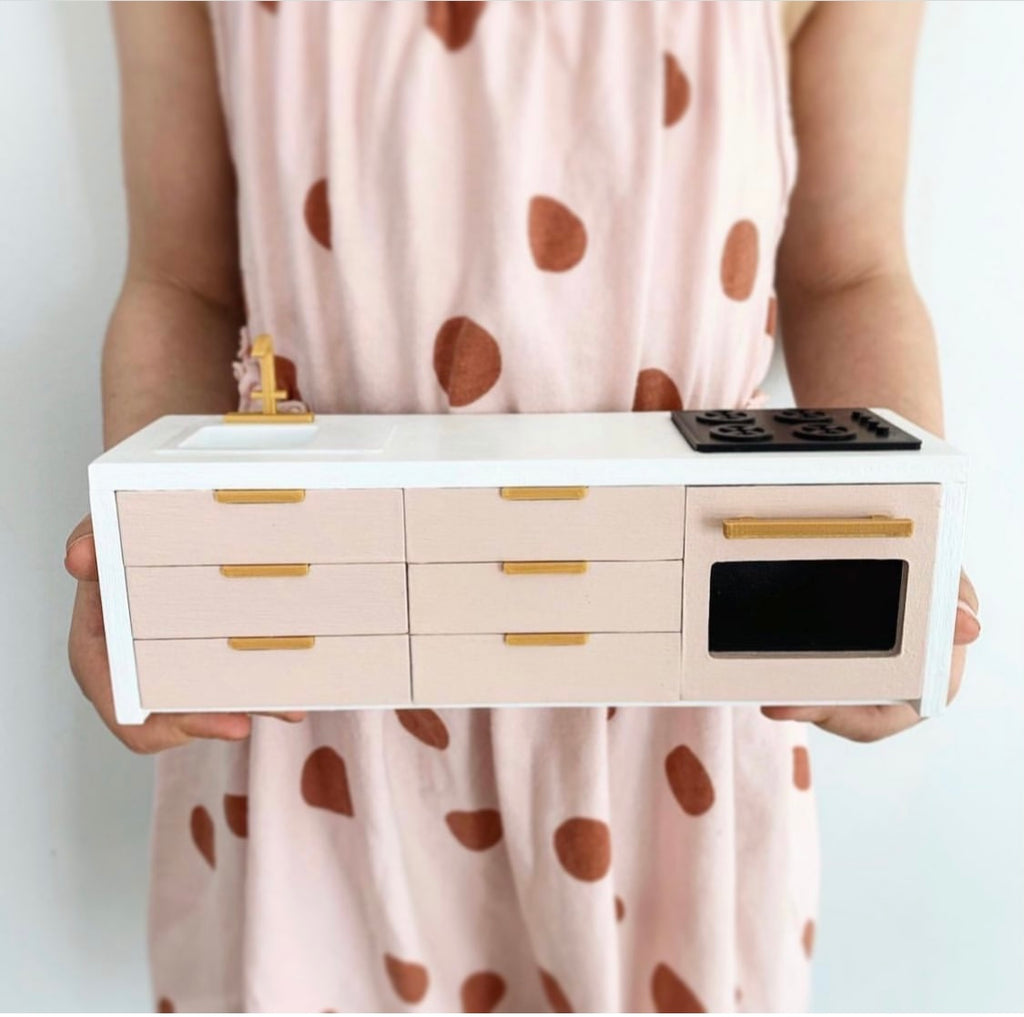
These are the assembly instructions for the Whimsy Basic Kitchen as found in the DIY kit. Each kit will include: 6 Drawers, oven front, 2 sides, counter top, back, drawer backing piece, bottom piece and the 3D printed hardware (sink, oven insert, oven handle, tap, stove top and 6 handles). 1) Apply glue to the grooves of the side pieces and the drawer backing piece. 2)...