

These are the assembly instructions for the Crescent Shower as found in the DIY kit.
Each kit will include: Shower backing, shower floor, shower sides and front. Also included is the 3D Printed hardware that should be applied after painting.
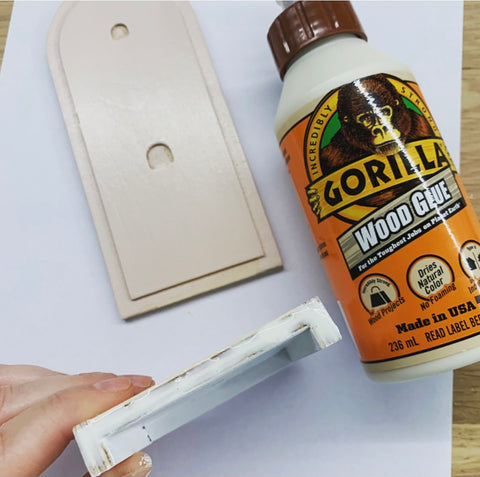
1) Apply glue to the groves on the shower floor side and front (pieces on the right)


2) Apply the one side and the front piece, followed by the other side. They all fit together. Ensure they are all aligned and snug. Wipe away excess glue.

At this point, if you want the shower backing and the floor to be different colours then paint them in two separate pieces. Ensure you do not get paint into the openings for the hardware otherwise they won't fit in properly.
For painting, I recommend using a water based acrylic paint. I always use a semi-gloss so they are easy to clean and the finish is harder wearing.
After the first coat, sand away any roughness and apply remaining coats.

3) Once painted, glue the bottom piece onto the backing. Again, this fits together and should be aligned. Push the pieces together, wipe away excess glue, allow at least 30 mins to dry.

4) Using a dab of super glue into the openings, apply the hardware. Press them into the openings so they are snug and secure.

Make sure you tag me on IG as I would love to see how you customise your Whimsy pieces. xx